Overview
This document covers the steps required to setup Azure, Office 365 or Microsoft Live integration into SchooliP, CollegeiP, UniversityiP or ALTO. This will allow users to use SSO to login without having to re-enter their login name and password again.
If you have any questions on this process please contact the Customer Care Team on 0333 0433 450 or via email at CustomerCare@derventioeducation.com,
Location
Log into SchooliP, CollegeiP, UniversityiP, or ALTO with your Administrator account and go to Settings.
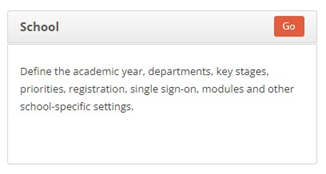
From the options select Go next to School as below,

Instructions
From the displayed options select SSO and click the Azure option as below,

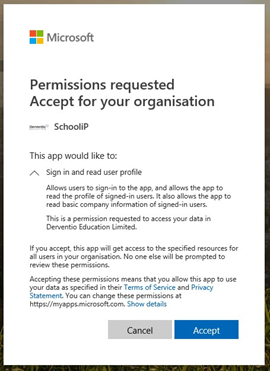
When all the details have been added, clicking on the Register Tenant button will display a window that should be similar to that below, the default user right group option is used when a new user logs into the system, they are assigned these set of rights by default.

This is saying that we require access to user information for a single sign on into your Azure installation. Note that we do not store or have access to any password details as part of this process.
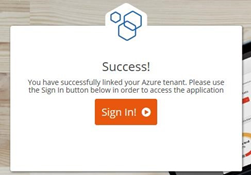
Click Accept and the installation process will be completed.

Using Azure for Single Sign on
Now that Azure has been configured for your installation, your users only need to click on the Sign in with Microsoft button on the login page to access SchooliP.

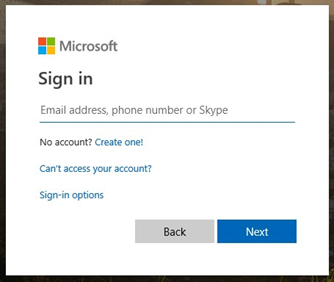
If they are already logged in with an Azure account it will take them straight into their home page on SchooliP, CollegeiP, UniversityiP or ALTO. If not, then the standard login window will be displayed to allow the user to login to Azure and then straight into the product.


