

Overview
DO NOT PUBLISH - This needs a rewrite
Location
This guide can be followed by having access to the Settings menu. This process will require you to have Administrator rights,
Instructions
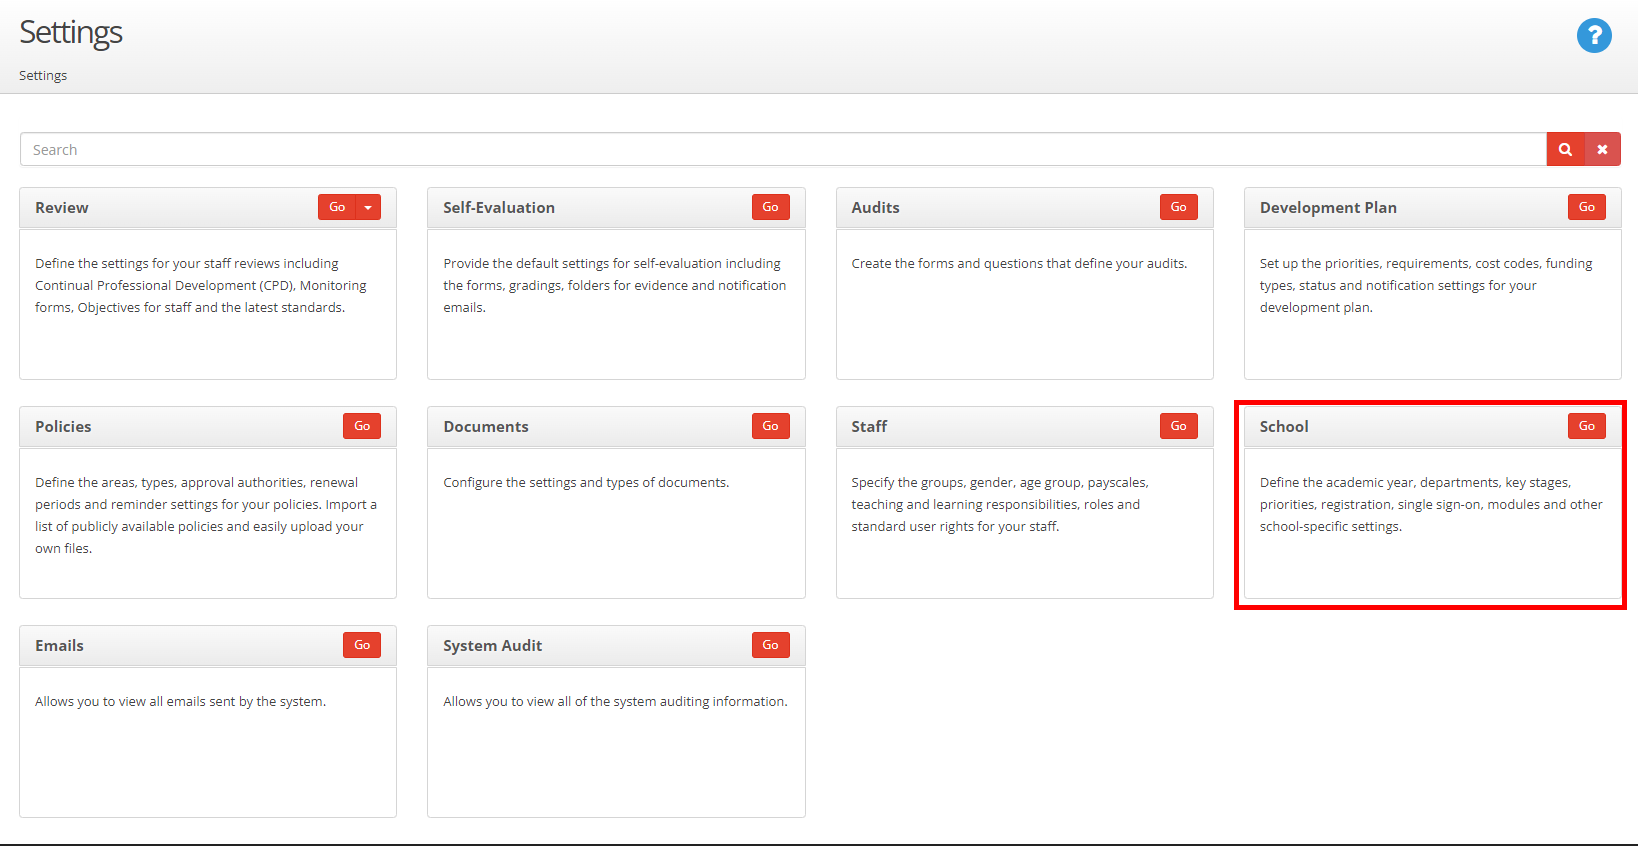
Firstly, go to the 'School' tab on the 'Settings' page
After this, you should navigate to the 'Priorities' tab on the left side-bar to access the Priority Settings.

A menu should now appear showing a list of your organisation's Priorities

From here you can click 'Add Priority' to begin the process of adding a new priority to your organisation.

All fields in the image above should be filled in - the 'Title' will be the identifier throughout your system so ensure it is clear what the priority means, and cannot be confused with others.
As shown in the example table above - it can help to number priorities if you are going to have any that are similarly labelled.
The 'Start' and 'End' date fields should be the appropriate start and end dates relative to when the Priority should be achieved by.
Once you have filled in the fields accordingly, click 'Add' to save the Priority