Location
Adding/enabling costs takes place in various different locations, which are specified within each Action below
Instructions
By default, the costs are not automatically visible in the IP suite and must be enabled in the main settings before they can be viewed.
Actions
Turning Costs on

From the main menu on the left-hand side of your screen select Settings
From the Settings screen Select the Improvement Plan in the settings

From the Settings Tab in the Improvement Plan Settings you should see a tick box titled Use Costs? ensure this box is ticked

Once this is done select Save Settings to finalise the change
How to add Costs to the Plan

From the main menu on the left-hand side of your screen select Improvement Plan
Select the Objective from the list that you want to add costs to

Under the objective select the Activity/Task
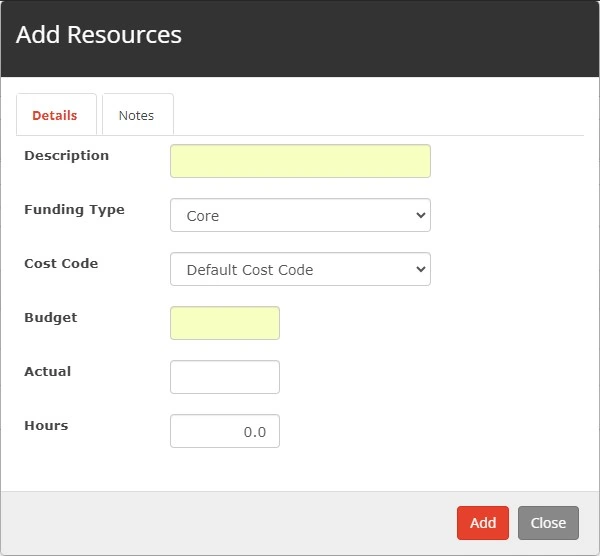
Selected the Resources tab, once loaded select Add

Enter the required information against the resources, including the budget and the actual cost if known
Click Add to save data
How to Add Funding Costs
From the main menu select Settings, then select Development Plan Settings.
Then select Funding Types from the side menu.
Select Add Funding Type.
Then type the title of the Funding Type and press Add to save data.
How to Add Cost Codes
From the main menu select Settings, then the School settings.
Then from the side menu select Cost Codes.
From the Cost Codes tab select the Add Cost Codes icon.
When you have entered the Title in the Detail Tab, select Add to save the data


